How to Install MG ZS Seat Covers in 20 Minutes - Step by Step Guide
A complete installation guide for the MGS-001 seat cover on MG ZS sport seats. No tools required. Includes hardware prep, bolster alignment, and under-seat anchoring.
Installing seat covers on an MG ZS is easier than you think. The MGS-001 is designed to fit the MG ZS sport seats precisely, and with the right approach it takes under 20 minutes with no tools required. Follow these steps exactly and you'll get a factory-fresh result.
What's in the box
Before you start, lay everything out: two seat covers (backrest + cushion), two headrest covers, metal hooks, and plastic disc anchors. The hardware comes pre-bagged, don't lose the discs, they're critical for the center anchor step.
Step 1 - Prep the hardware before you go near the car
Flip the seat cover upside down so the underside faces up. Do all hardware prep on a flat surface before getting into the car, it's much easier.
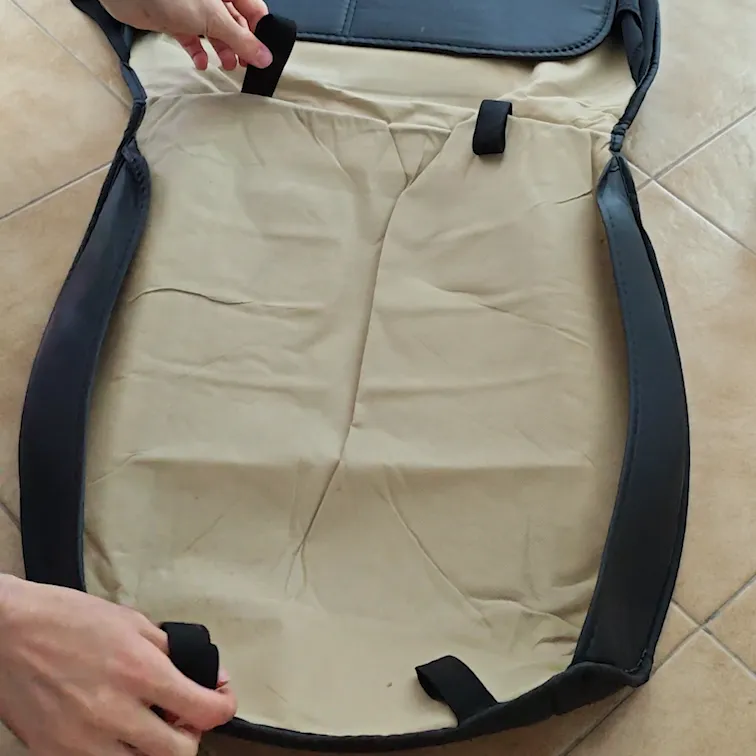
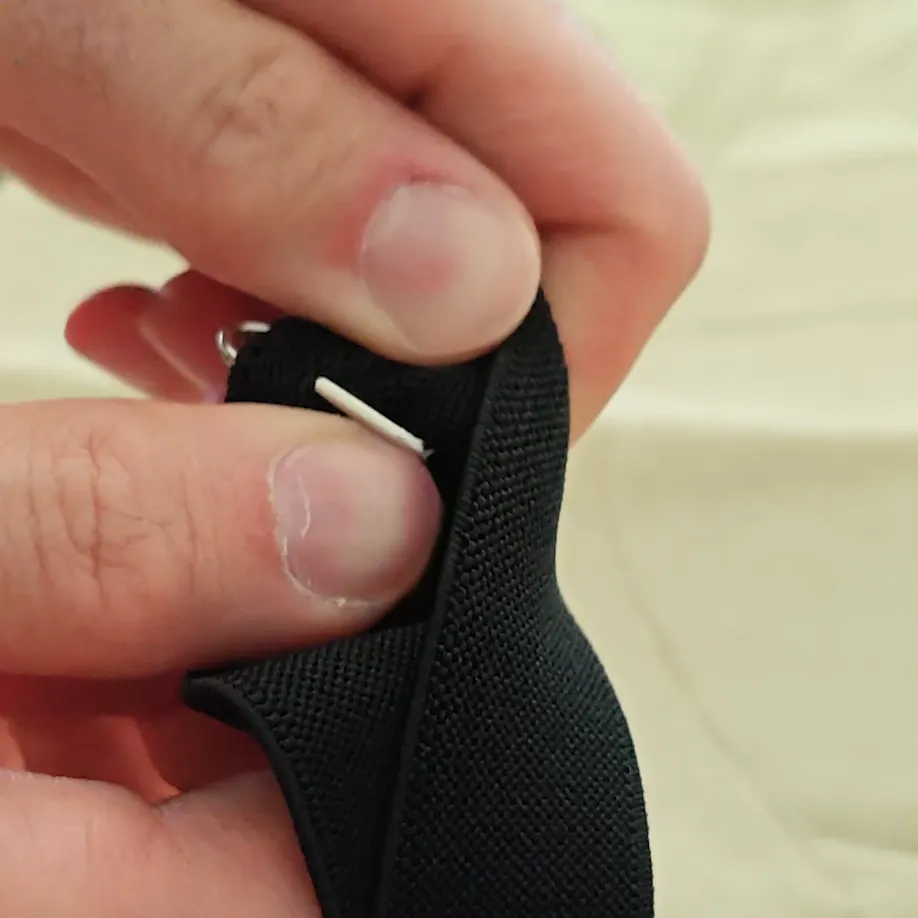
Metal hooks (perimeter straps)
- Find the elastic loops along the bottom edge of the cover
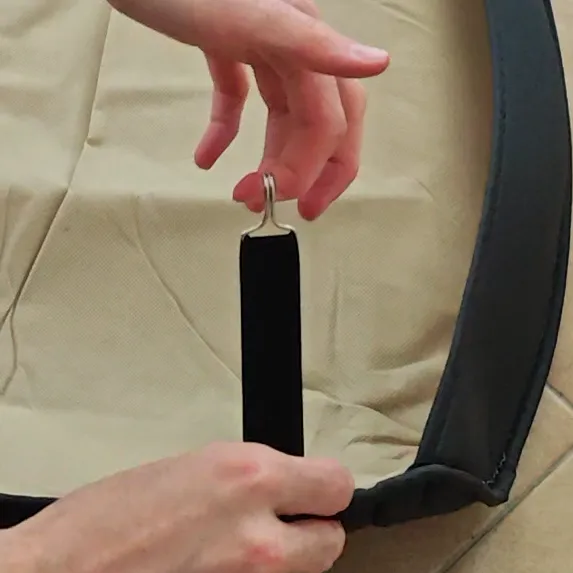
- Insert each hook with the curved sharp side facing downward toward the fabric
- Slide the strap halfway through the loop, then press to lock the rest through
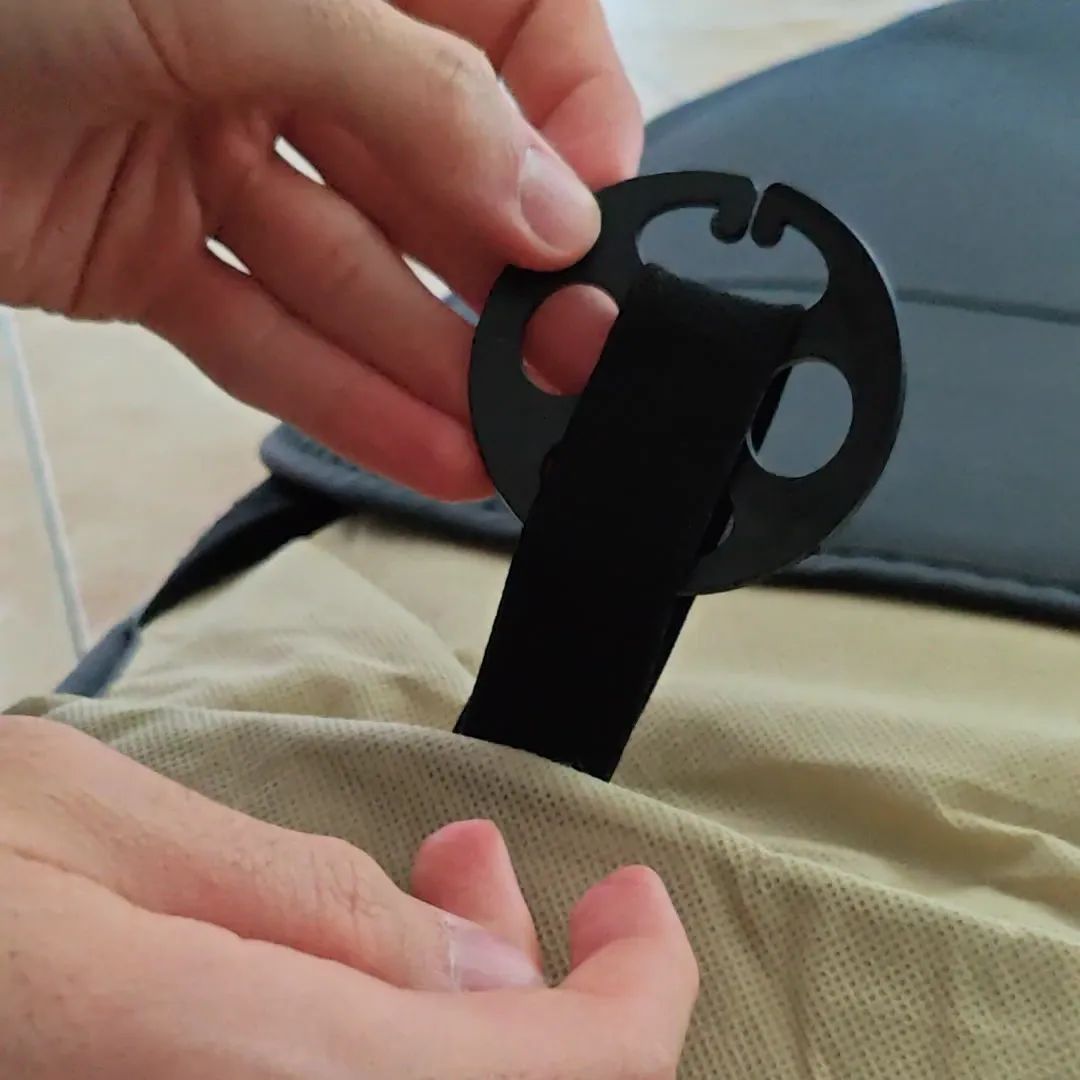
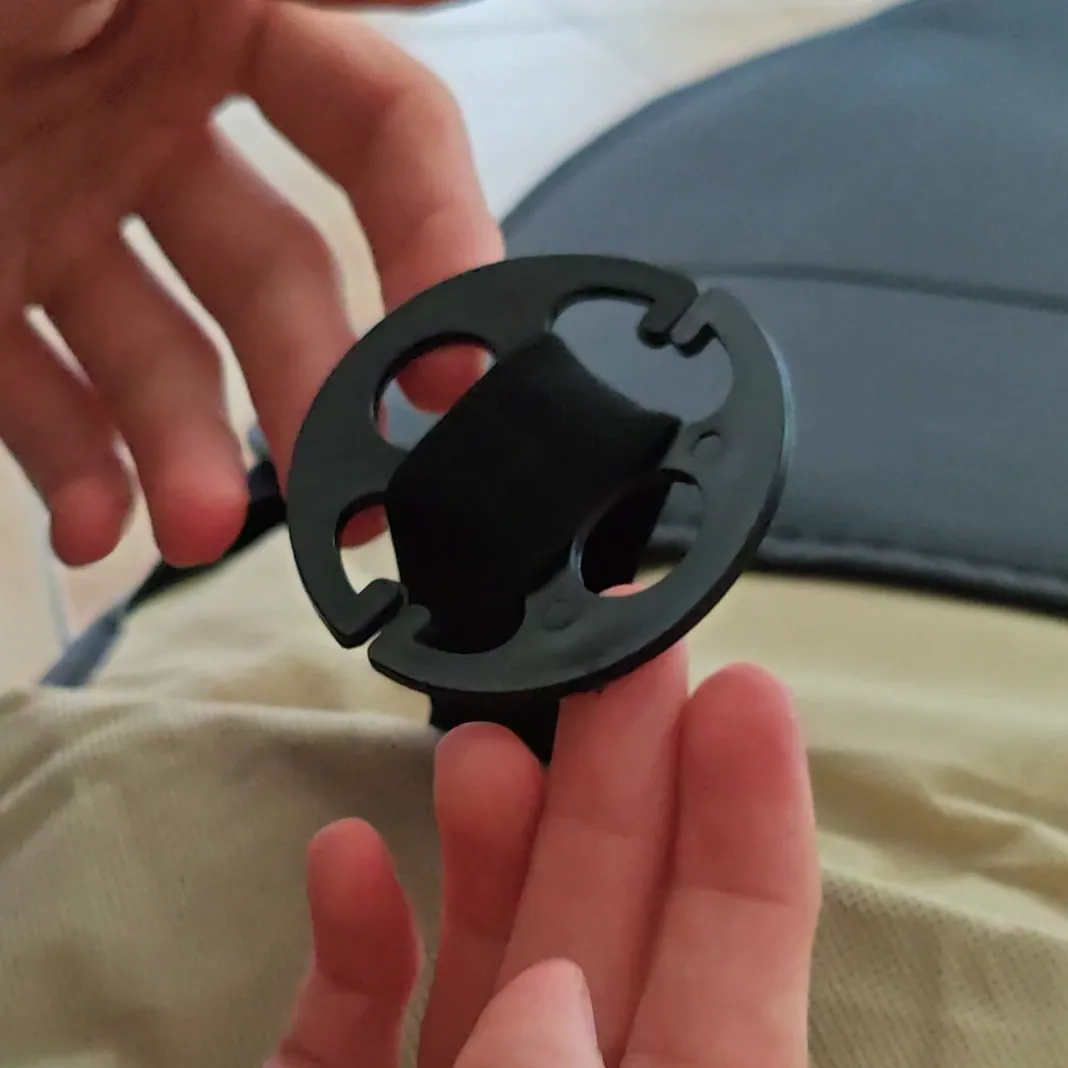
Plastic discs (center crease anchor)
- Find the elastic loops at the center of the cover, where the backrest meets the cushion
- Thread each loop through the center slot of the disc
- The disc acts as a toggle anchor, it locks the cover into the seat crease from behind

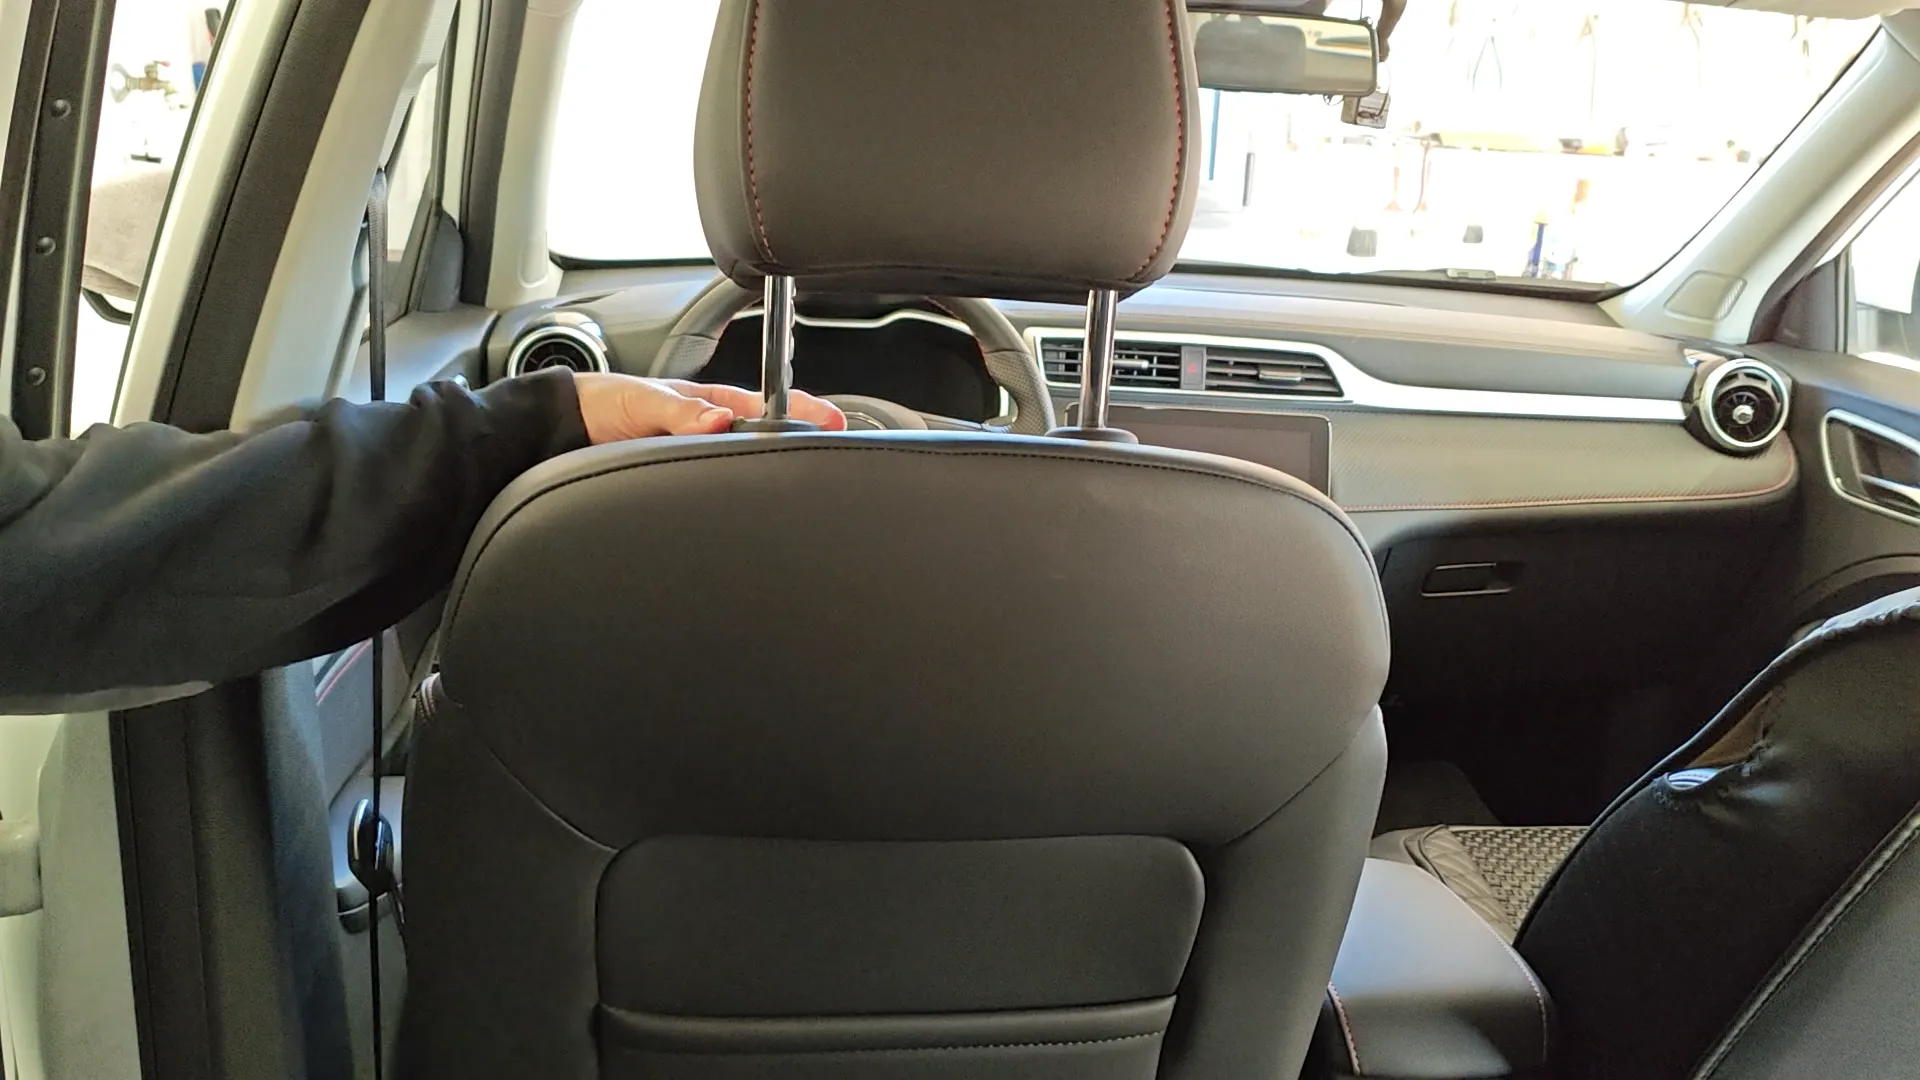
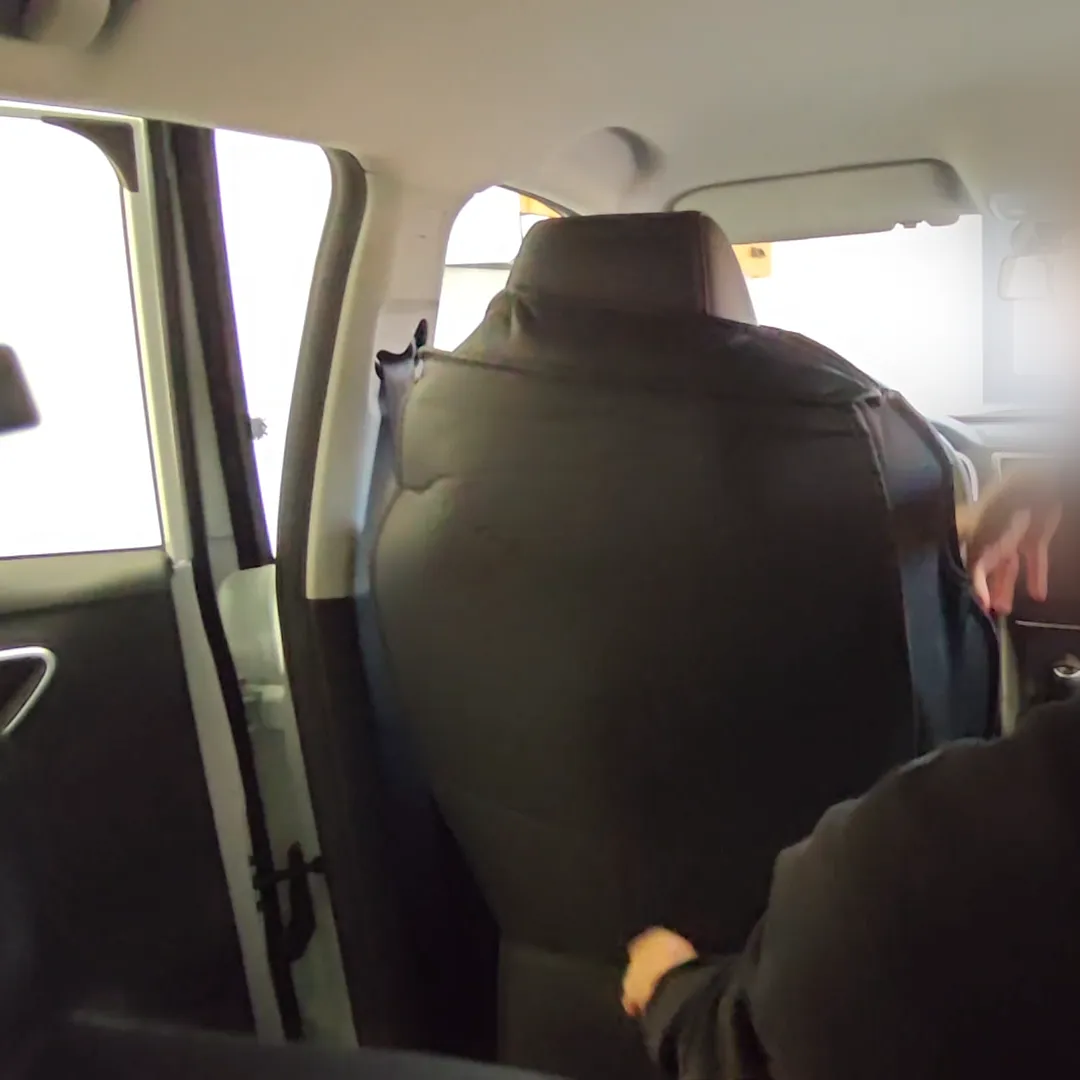
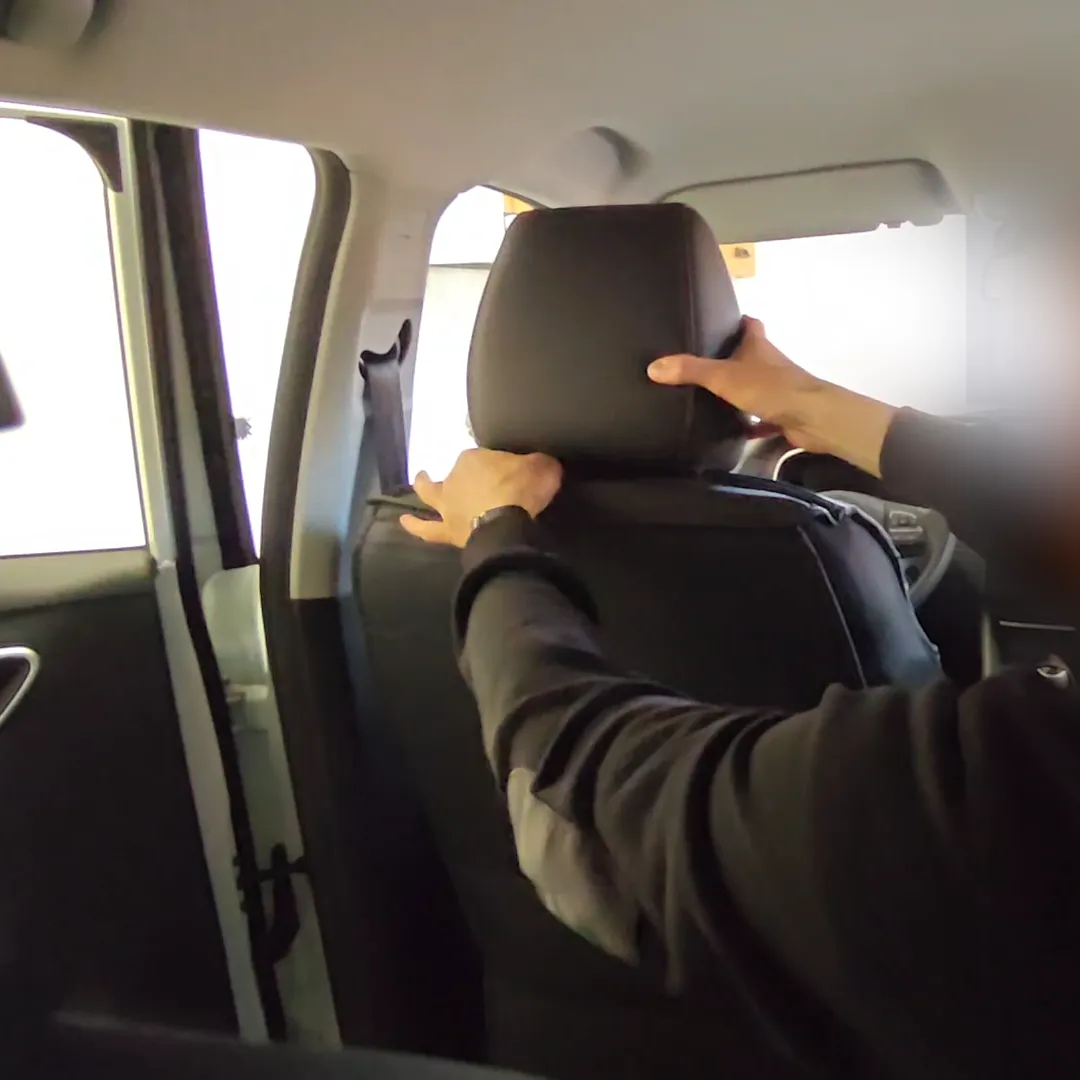
Step 2 - Adjust the headrest
Press the release button at the base of the headrest poles and pull the headrest up a few notches. You don't need to remove it completely, just enough clearance to slip the cover over the top.
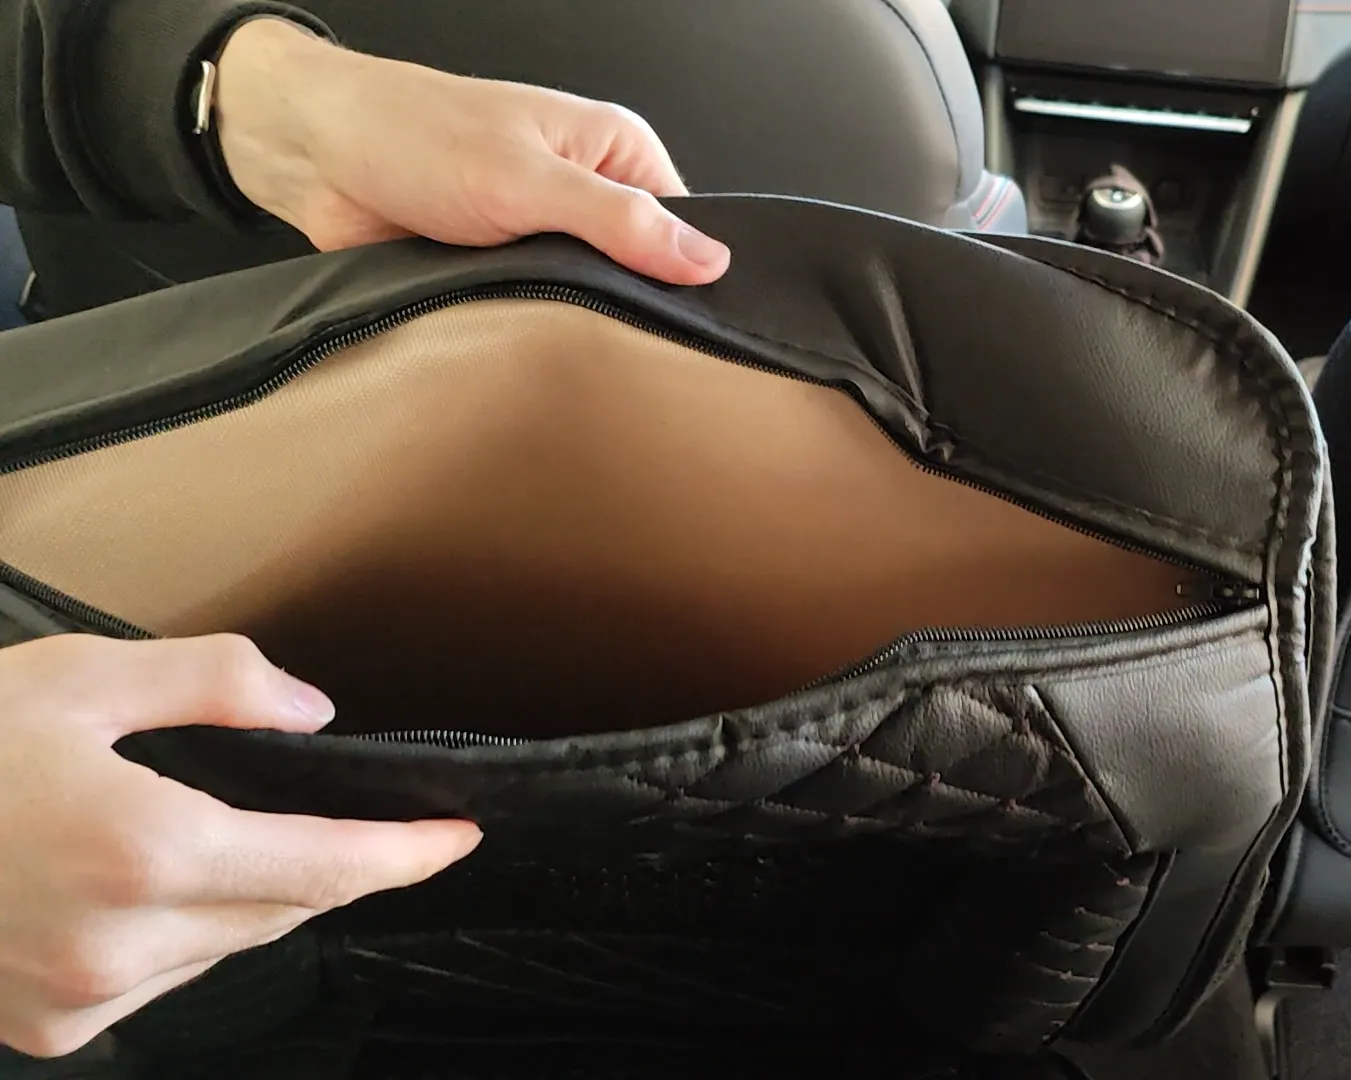
Step 3 - Fit the backrest cover
Open the zipper on the backrest section completely before you start, a half-open zipper makes the next step unnecessarily difficult.
Slide the cover over the top of the backrest and pull it down evenly, alternating left and right. Don't yank it all down at once. These covers are tailored to the MG ZS seat geometry, so they're snug, work them down gradually. Watch the side seam alignment as you go. Getting this right now means the finished result will look seamless.
Once aligned and snug, close the zipper and push the headrest back down until it clicks.
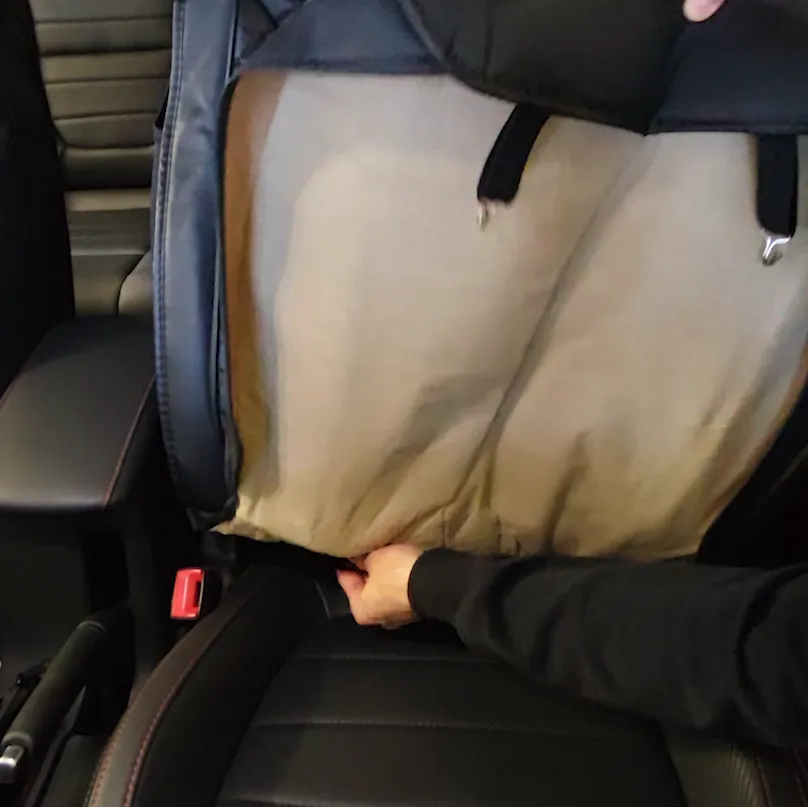
Step 4 - Lock the center
This is the most important step for a wrinkle-free result. Take the plastic discs and push them edge-first through the gap between the backrest and the seat cushion. Push as far through as possible.
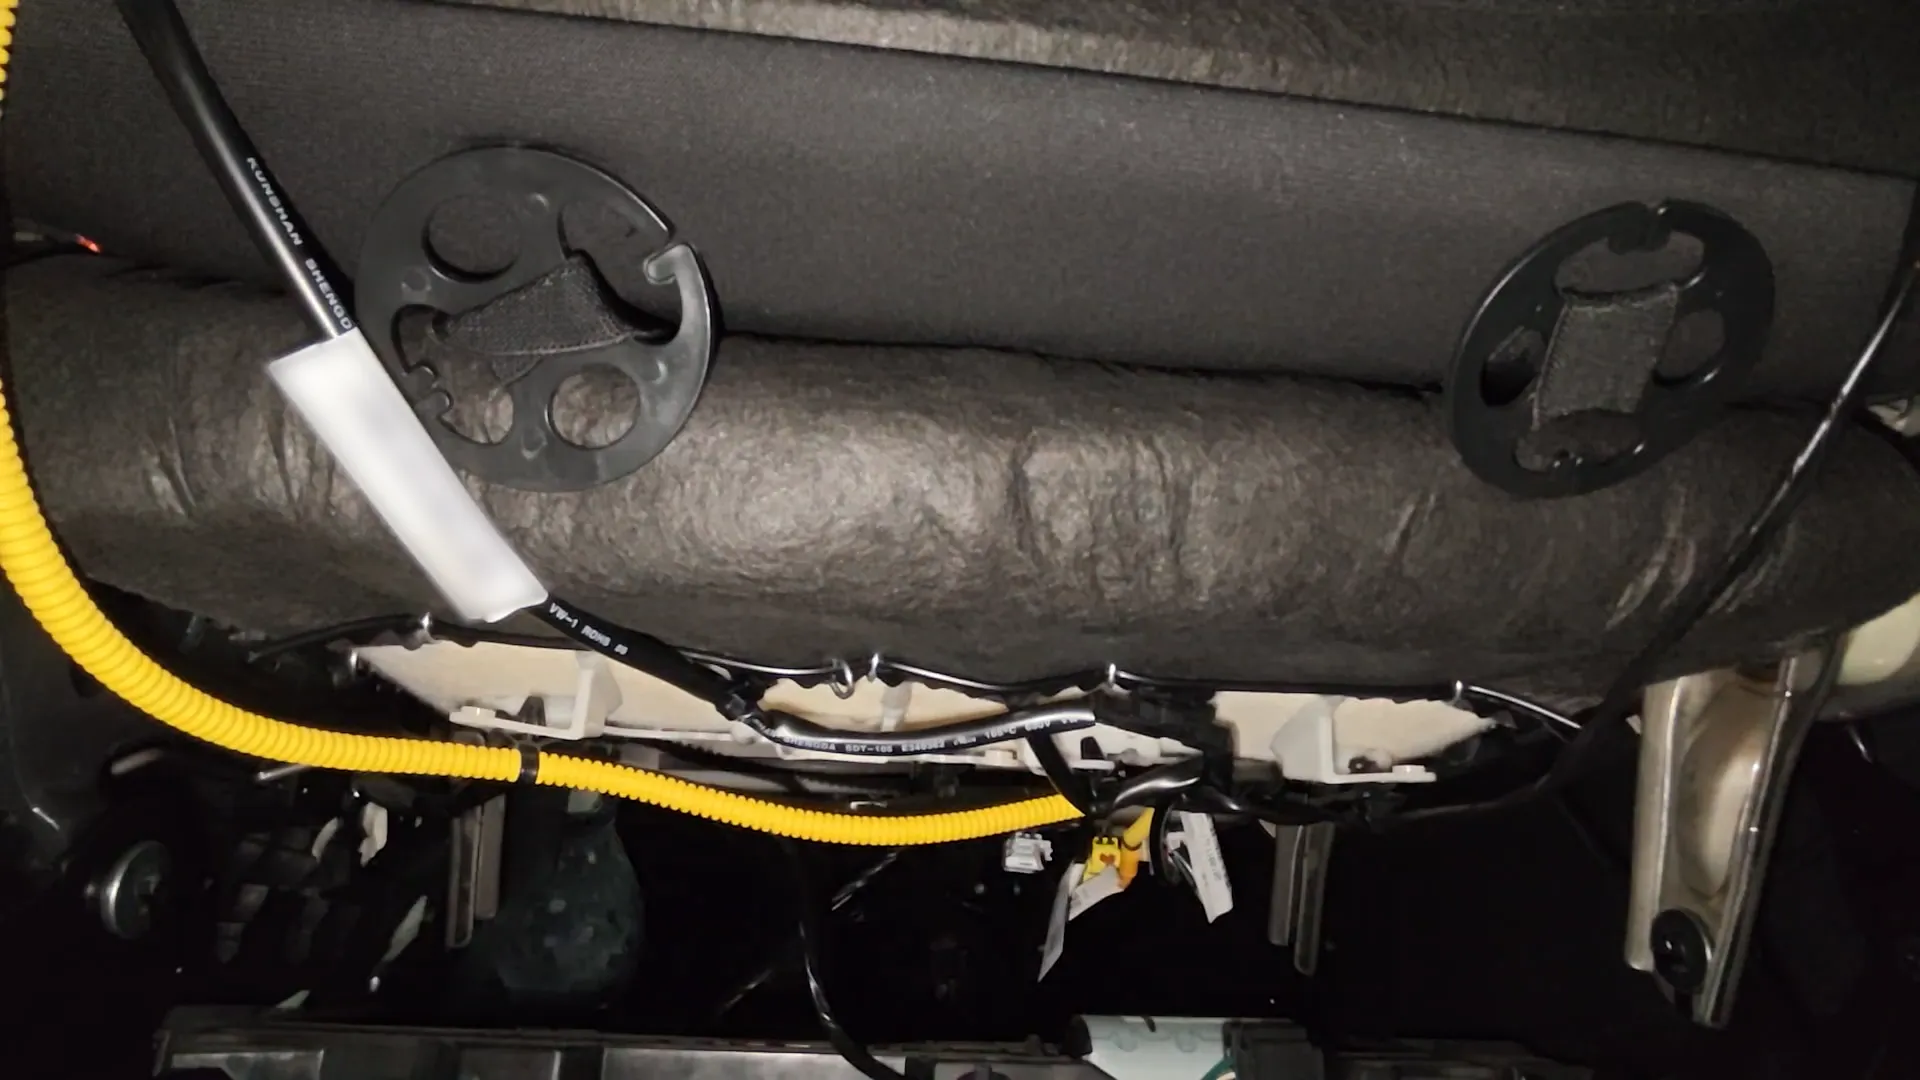
If the discs don't go all the way through from the front: walk around to the back seat, reach into the same gap from behind, grab the discs, and rotate them flat so they sit vertically against the seat structure. This creates a tight anchor that eliminates any bagging or wrinkling in the cover.
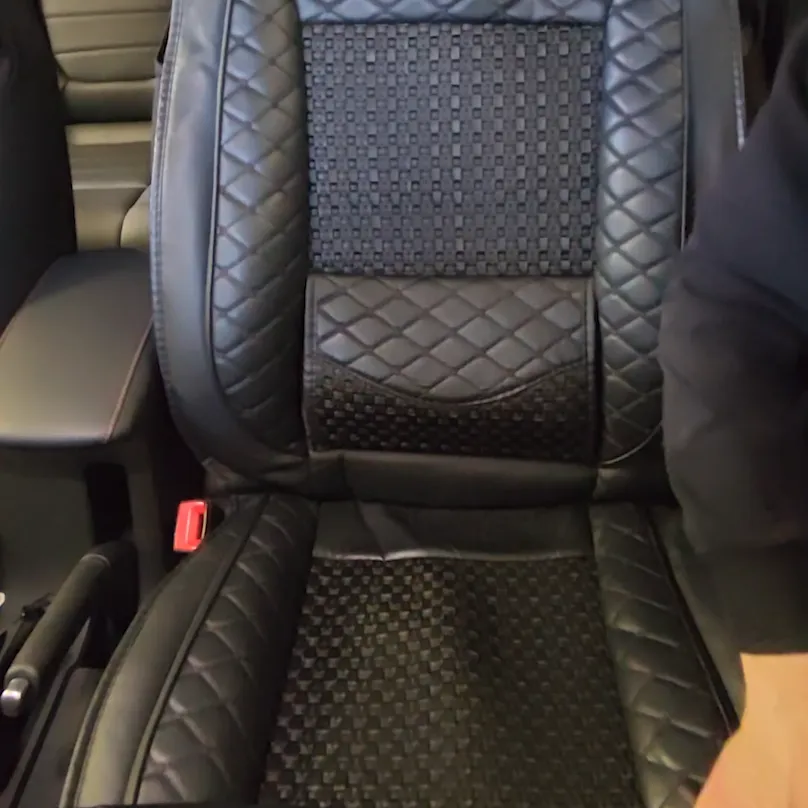
Step 5 - Fit the cushion cover and check the bolsters
Pull the front and sides of the lower cover snugly over the seat cushion. Before you anchor anything, check the side bolsters, make sure the cover is smooth over the raised edges and hasn't folded or bunched. Fix it now, because once the hooks are anchored underneath it's harder to adjust.
Step 6 - Anchor the bottom
Lean under the front of the seat and look for the designated mounting holes on the metal frame.
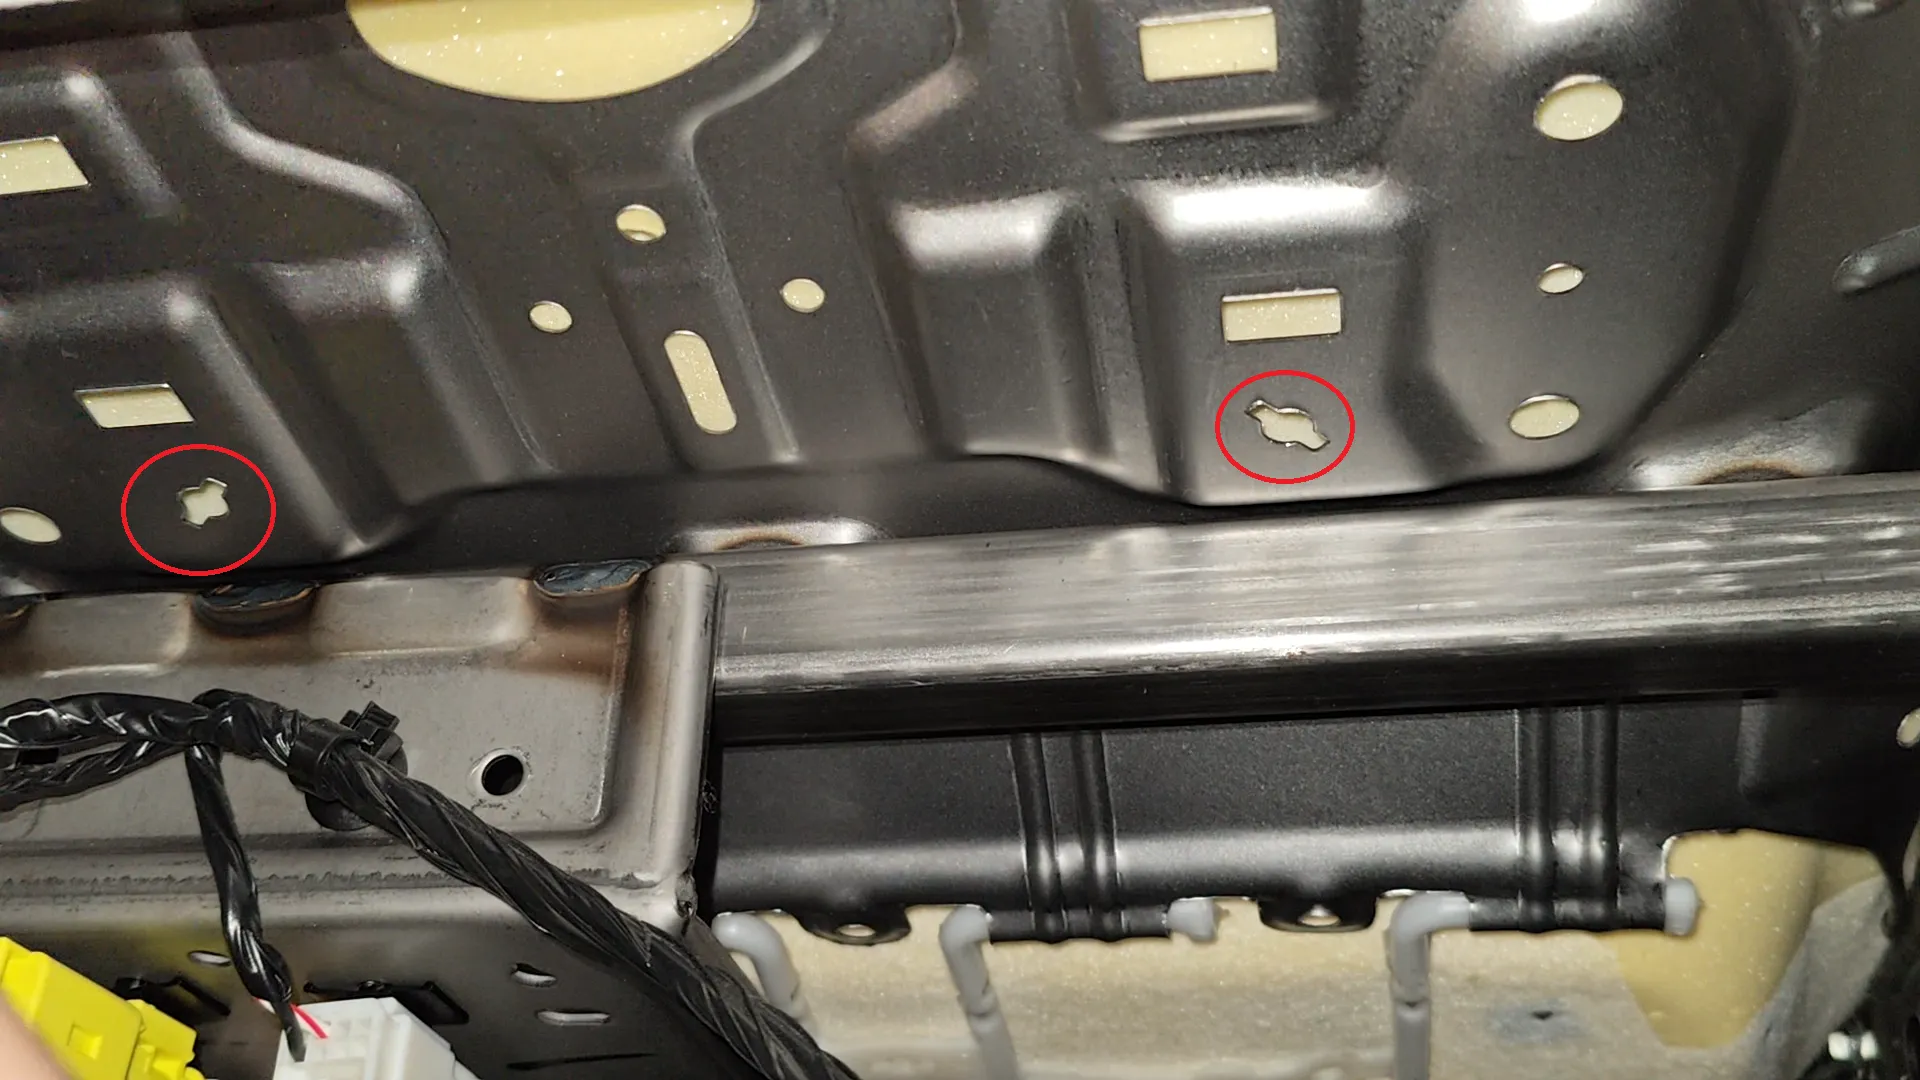
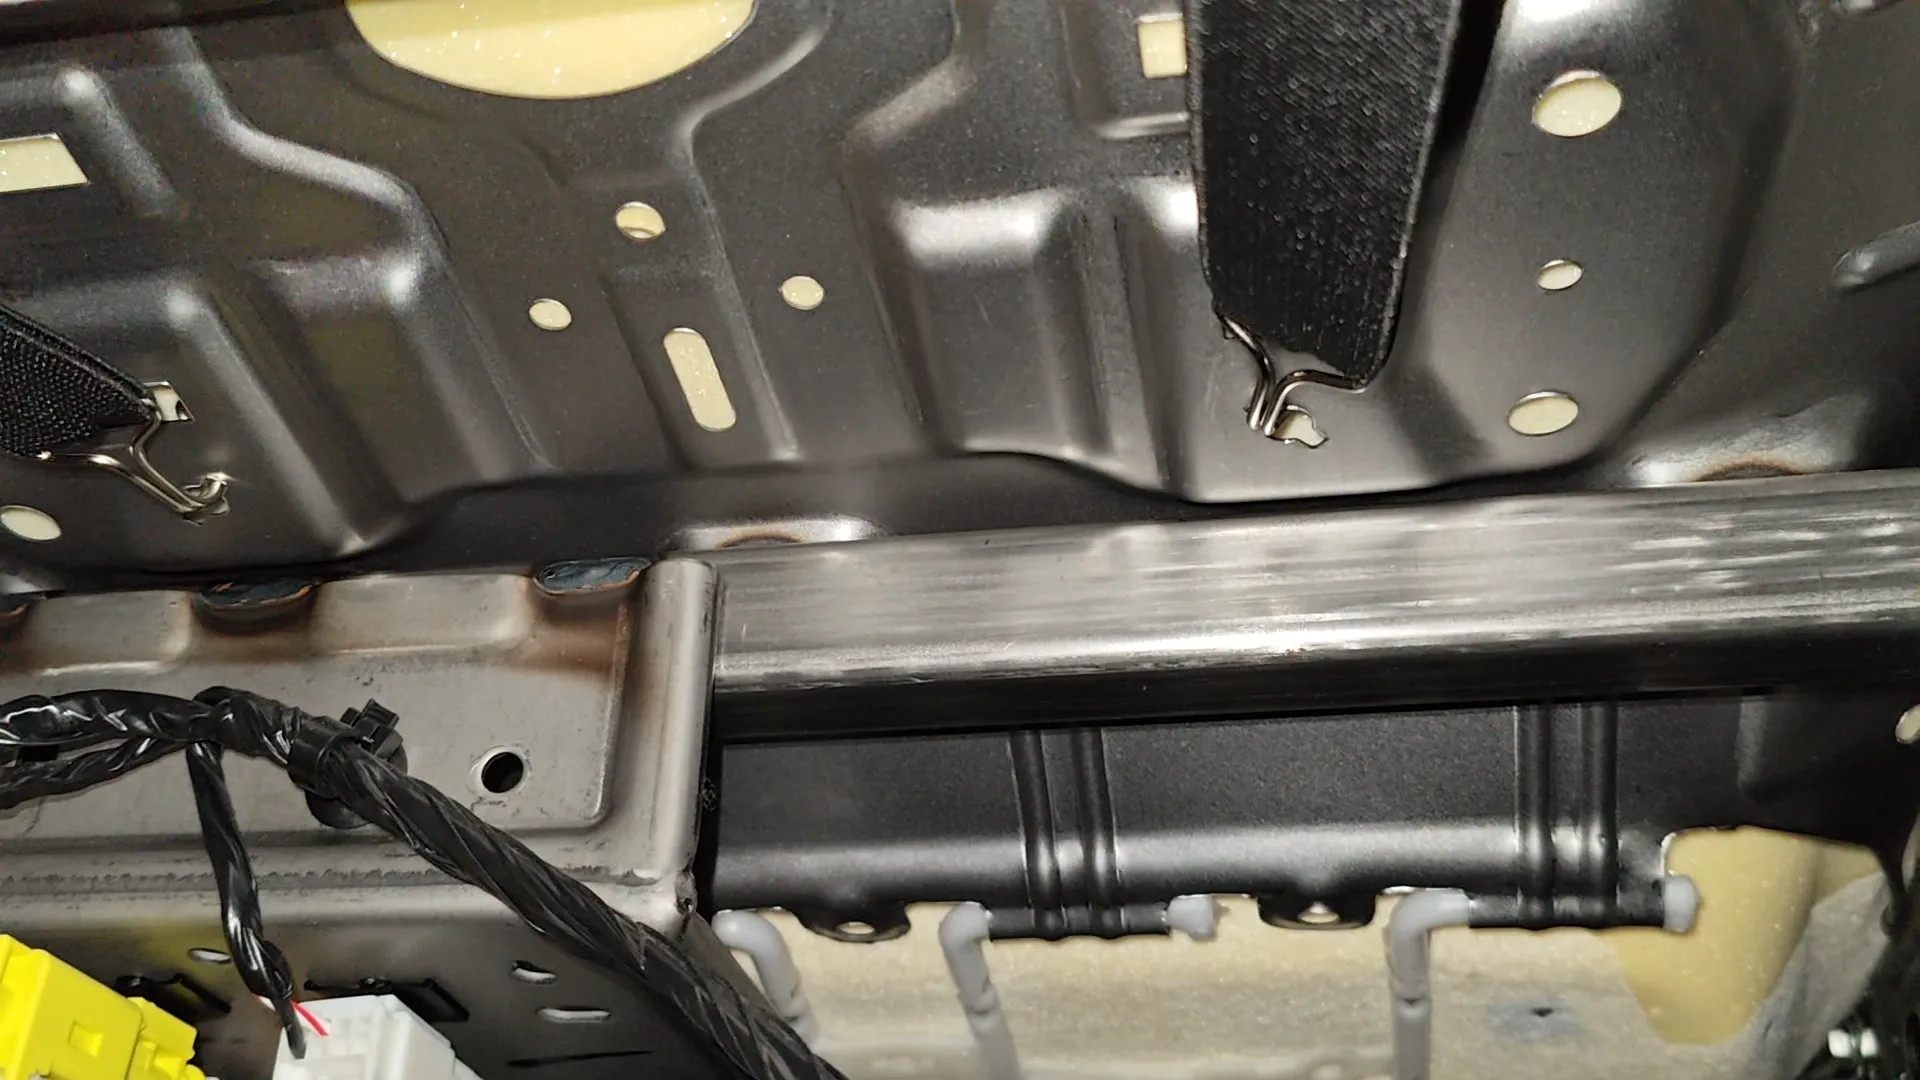
Hook the metal clips into those slots, stretching the elastic taut first. If your seat frame looks slightly different and you can't find the exact holes, any stationary metal part on the frame works fine. Always avoid moving parts and electrical wiring.
Headrest covers
Slip the headrest covers on last. They're the quickest part, straight over the top, strap at the bottom.
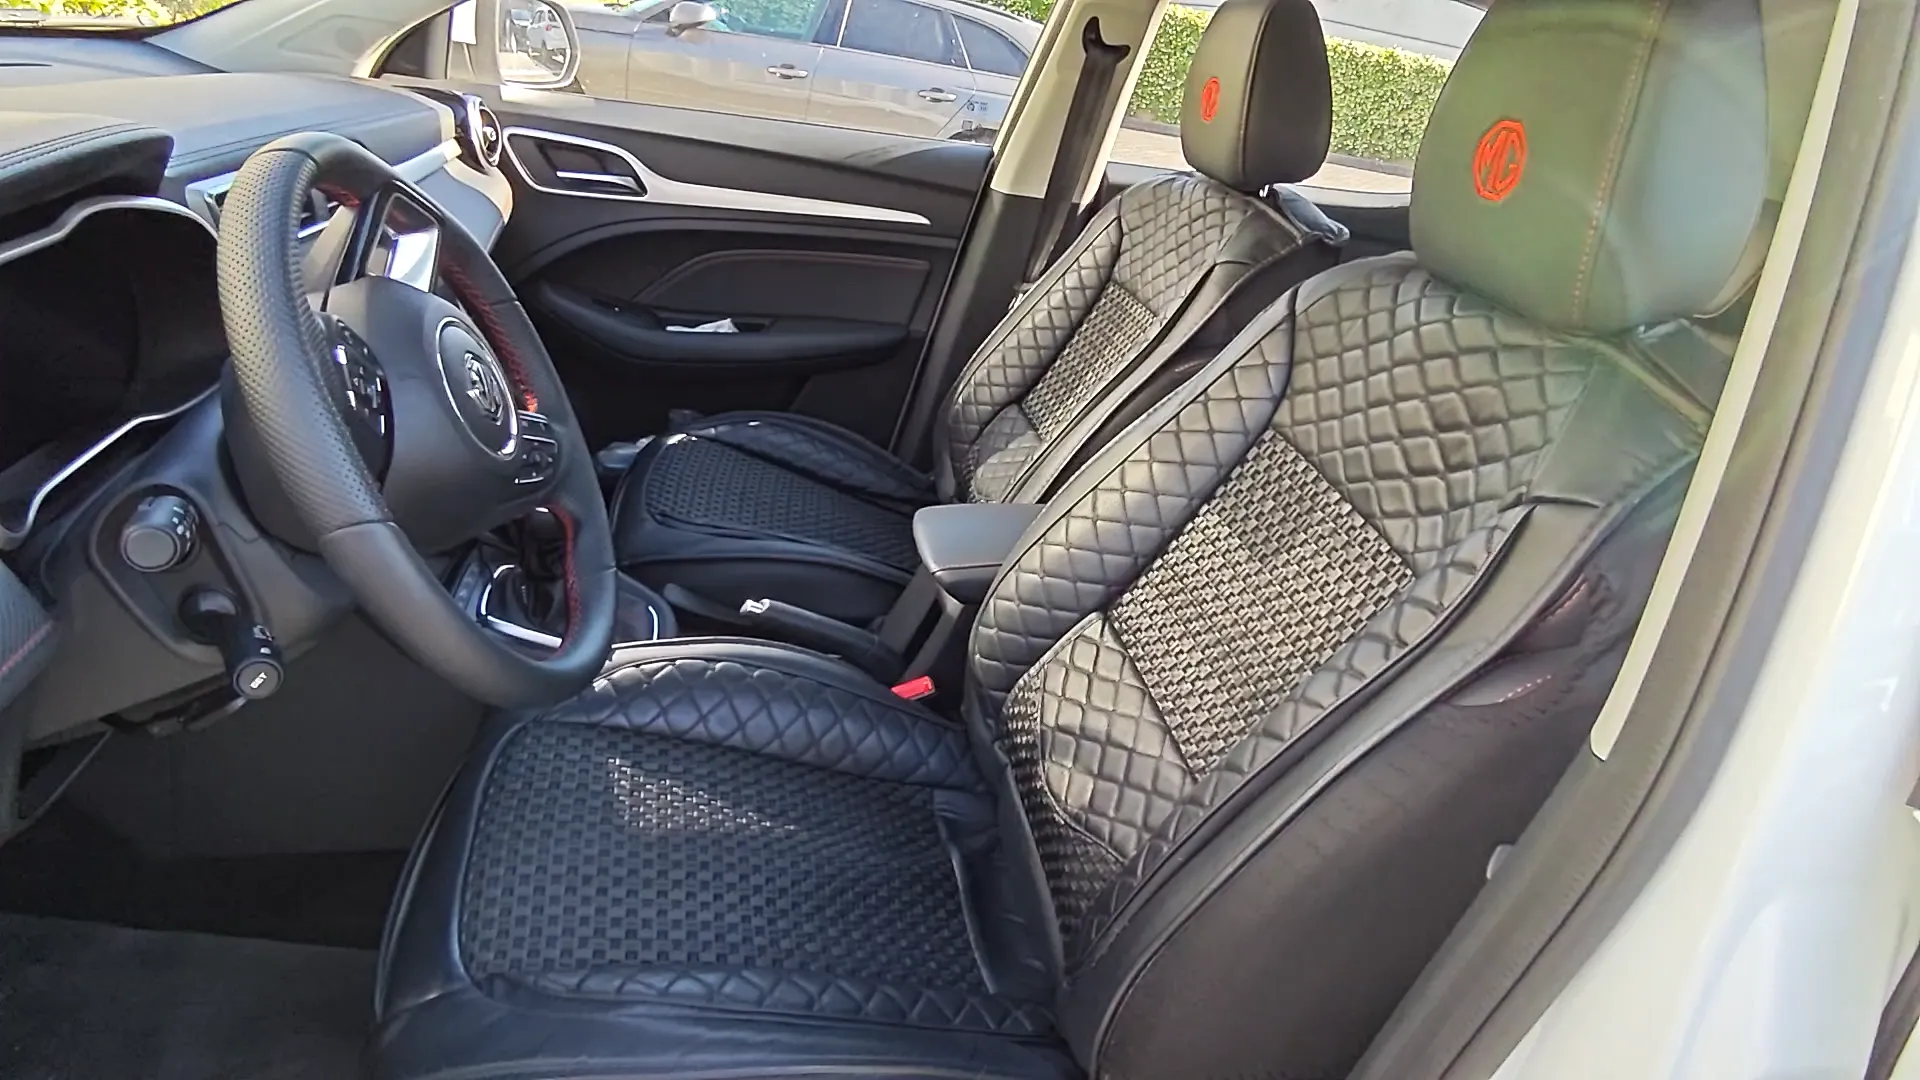
The result
When done correctly, the MGS-001 sits flush against the MG ZS sport seat bolsters with no lifting, no bunching, and no visible hardware. The side airbag channels remain fully unobstructed.